Middle Sister Quilt SAL: Week 2
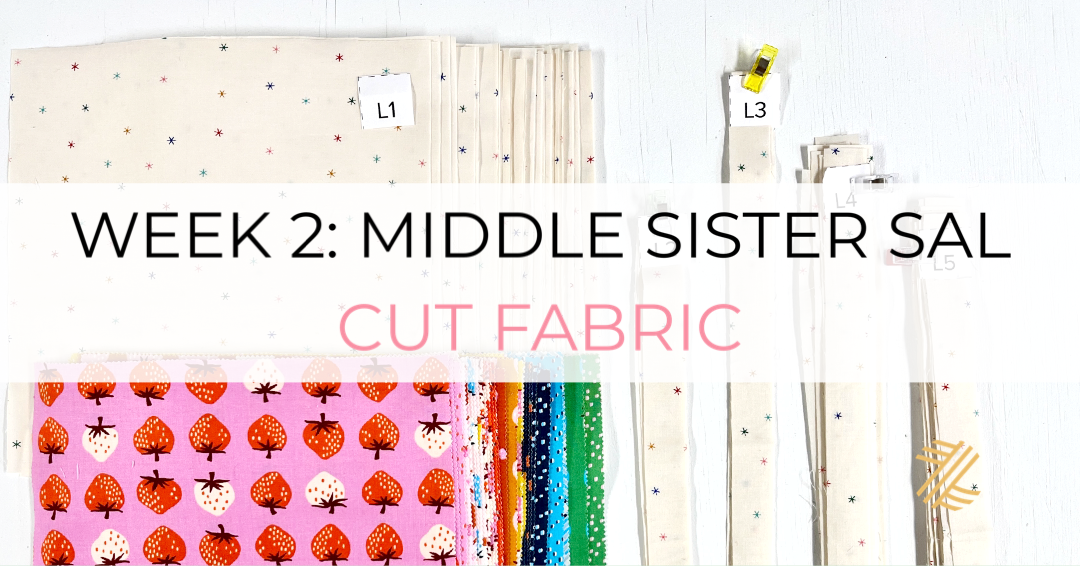
Week 2: Cutting Fabric
Welcome to Week 2 of the Middle Sister Quilt Sew Along (SAL)! This week will be cutting and labeling our fabric. If you recently joined the SAL, welcome! To catch up read the “Welcome Note” & “Week 1” (links below).
If you haven’t yet, purchase the pattern.
SAL Schedule
Week 1: Select Fabric & Gather Supplies - Jan 6th
Sponsor: Ollie Fabrics - $50 gift certificate - WINNER: @lynncycle
Week 2: Cut Fabric - Jan 13th
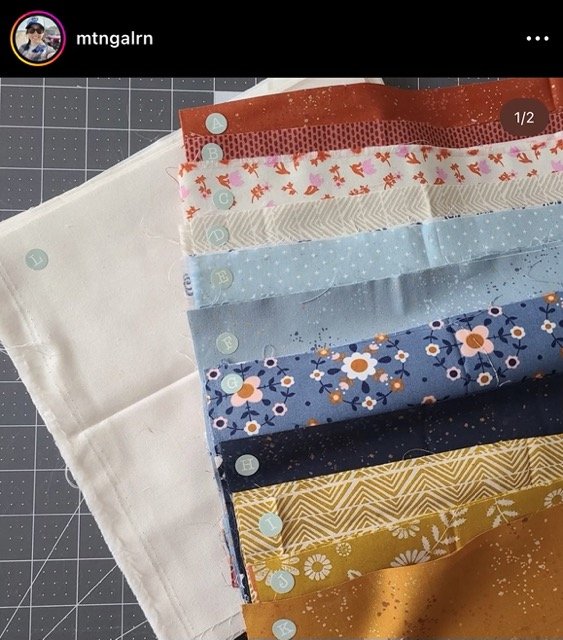
Sponsor: Lamb & Loom - $50 gift certificate (US and CA only) - WINNER: @mtngalrn
Week 3: Sew Half Square Triangles - Jan 20th
Sponsor: Pasadena Quilt Studio - $70 gift certificate (US and CA only)
Week 4: Sew Half Square Triangles - Jan 27th
Sponsor: Quiltfolk Life Book + String & Story Introduction to Free Motion Quilting Class ($85 value)
Week 5: Sew HST Blocks - Feb 3rd
Sponsor: Quiltfolk Yearlong Subscription + String & Story Introduction to Free Motion Quilting Class ($110 value)
Week 6: Assemble Quilt Top - Feb 10th
Sponsor: Oliso - Grand Prize - Oliso Collection includes a ProPlus SmartIron, Mini Project Iron, Ironing Board Cover, and Felt Pressing Mat (US and CA only) ($400 value)
Some recommended products below may earn me a small commission.
Week 2 Assignment: Cut, Label, and Organize Fabric
Tip 1: Before you cut
Press all fabric before starting; I use Oliso Iron and Best Press.
Change your rotary cutter blade if it’s been a while. A new blade can make a huge difference.
For accuracy, cut with the measurements from the ruler, not the cutting mat.
I rarely prewash fabrics; the only times I do is when I use hand-dye or fleece fabrics. Note I will not be pre-washing any fabric for this SAL.
Tip 2: Favorite Tools for Cutting
Tip 3: Follow the version and size you’re making
If you’re following the PDF pattern, I suggest only printing the page you need, circling, or highlighting what you follow. If your working from a paper version, maybe use post-its to cover the other versions or sizes that way, you are not spending a few seconds every time you look back at the pattern figuring out what you're looking at.
Tip 4: Cutting Background Fabric
Join me as I will take you step by step through cutting your background fabric. I offer lots of tips, show you my favorite tools, and even make an error that doesn’t trip me up, and will share why.
Tip 5: Quilt Math for Background Fabric
If you don’t like math, does this also mean you don’t like quilt math? I’m pretty sure placing the word “quilt” in front makes a difference. :) I explain more about this in the cutting video at minute 04:45. Here is a quilt snapshot of my math. I punch some numbers when working with large pieces of fabric (over 2 yards) to see how much spare room I have. Plus, this helps me decide how I can help myself by cutting down 3.5 yards in this example. Don’t forget I am following the Color Burst - Throw.
Tip 6: Cut the bigger pieces first
No matter the pattern, I highly suggest cutting the bigger pieces first. Like all “rules,” I am sure there is an exception, but for the most part, I would follow this regardless of how the designer has the cuts listed. I have improved at writing patterns using this format, but I know my earlier patterns are missing this piece. If you watch the cutting video, you’ll see why at minute 12:49, when I make an oops, but it all works out.
Tip 7: Square up yardage
If you’re working with yardage for Fabric A - K, square up one side before starting. This ensures you’re starting with a straight edge. I demonstrate this in the video below.
Katie’s Week 2: Assignment
Cut background fabric and use the pre-cut 10” Layer Cake
Labeled all background (L1-L5) fabric as I will decide where to place A - K fabric once I make the HST.
Enter Week 2 Prize
To enter the Week 2 prize, post a photo of your cut fabric on Instagram and use the hashtag #middlesistersal. Post by Thursday, January 19th, 11:59 pm MST, to be entered into the Week 2 prize.
Week 2 Prize - One lucky person will win a $50 gift certificate to Lamb & Loom. Good Luck!
Sponsored by Lamb & Loom
Week 2 Winner: @mtngalrn


