Strip Piecing for Patchwork
Quilting is an art form that has been around for centuries. One of the techniques used in quilting is strip piecing. Strip piecing involves sewing together strips of fabric to create a larger piece of fabric. This technique can be used to create a variety of quilting patterns and designs. In this blog post, we will discuss how to strip piece in quilting and the benefits of this technique.
In this blog, I’m using strip piecing to create the Grid View Quilt blocks.
Let’s go!
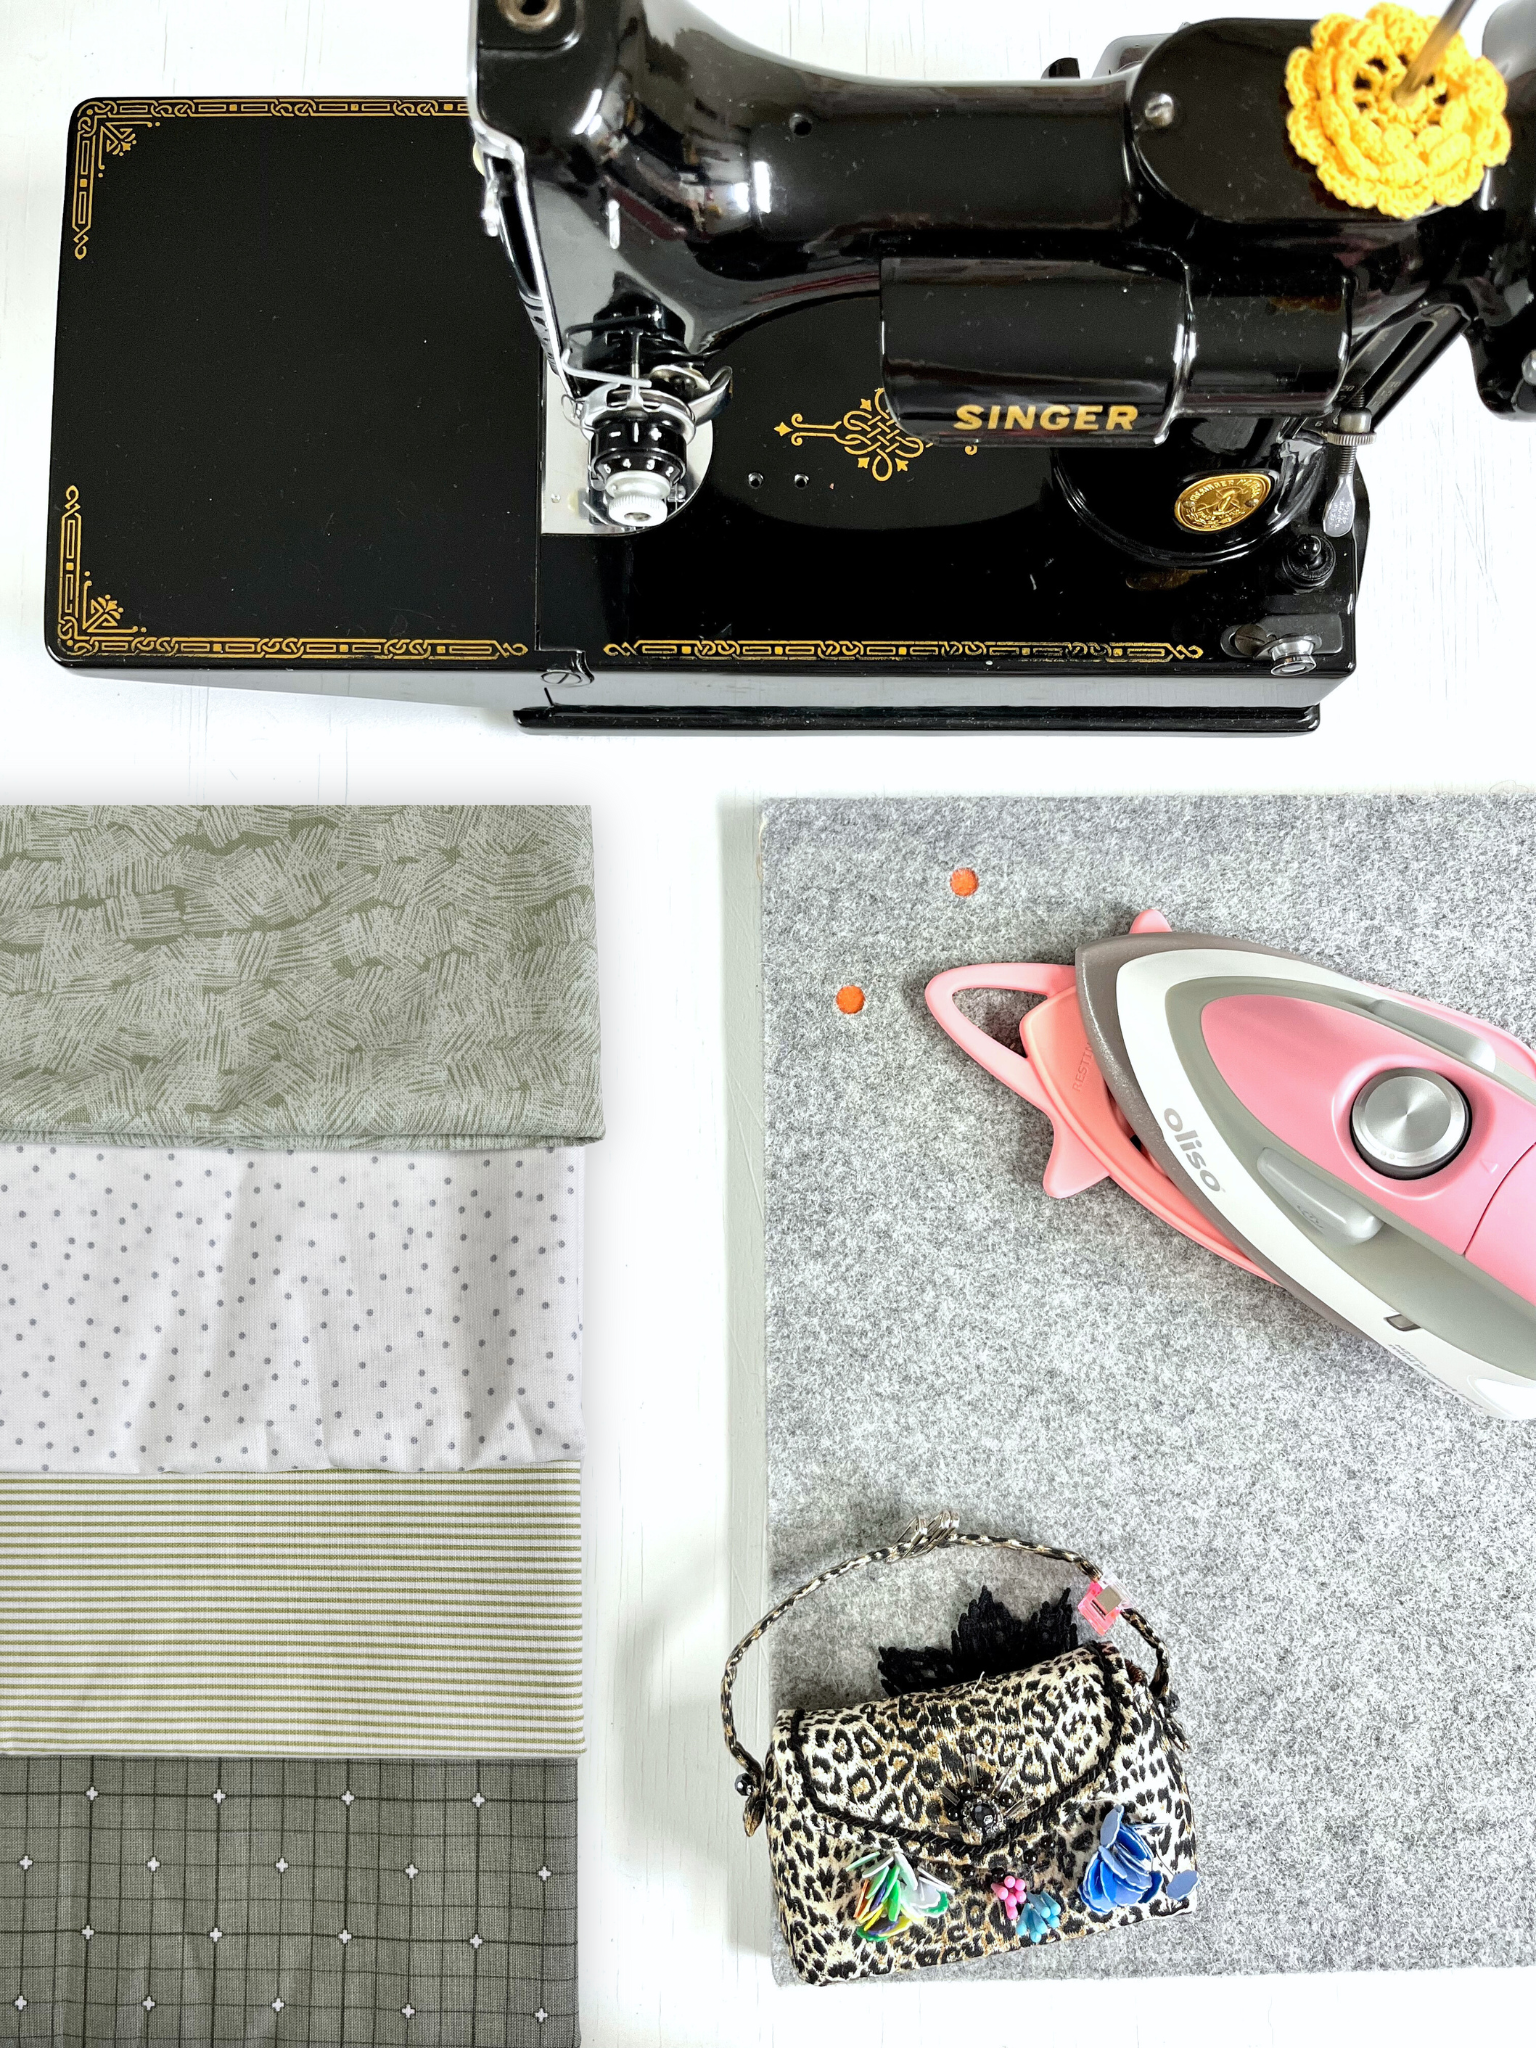
Supplies Needed:
Pressed Fabric in yardage
Ready to use sewing machine
Pins
How-To: Strip Piece
Time Spent: 5 - 7 minutes for one block
Start viewing at 10:21 minute for strip piecing.
I recommend watching the video for detailed instructions. Short on time? I love watching YouTube videos at increased playback speed (under settings) to save time.

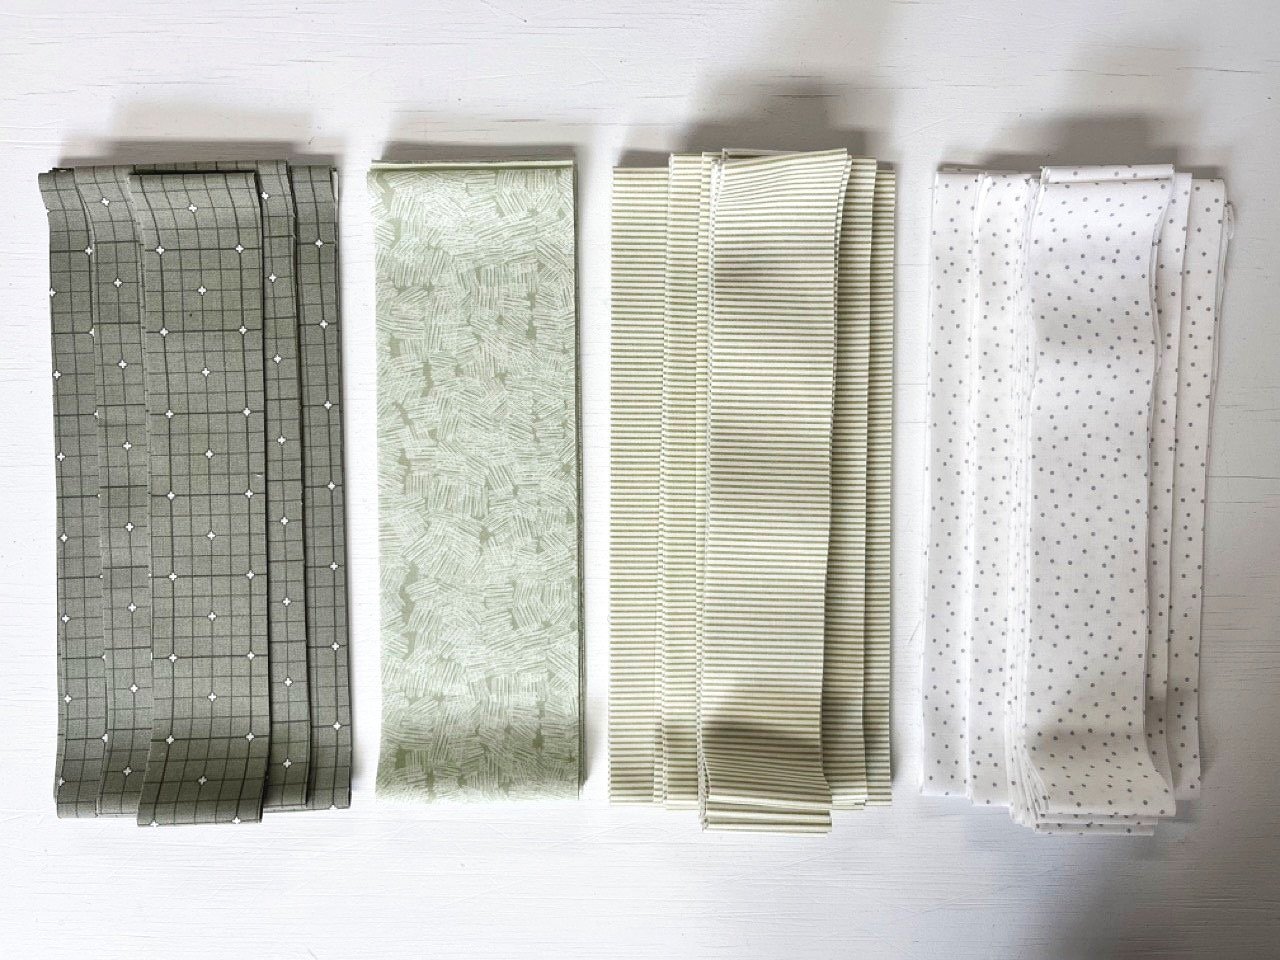
1. Cut Fabric into Strips
Cut fabric strips of the required width from your chosen fabric. Time-saving tip, cut using the Stripology Ruler by Creative Grids.
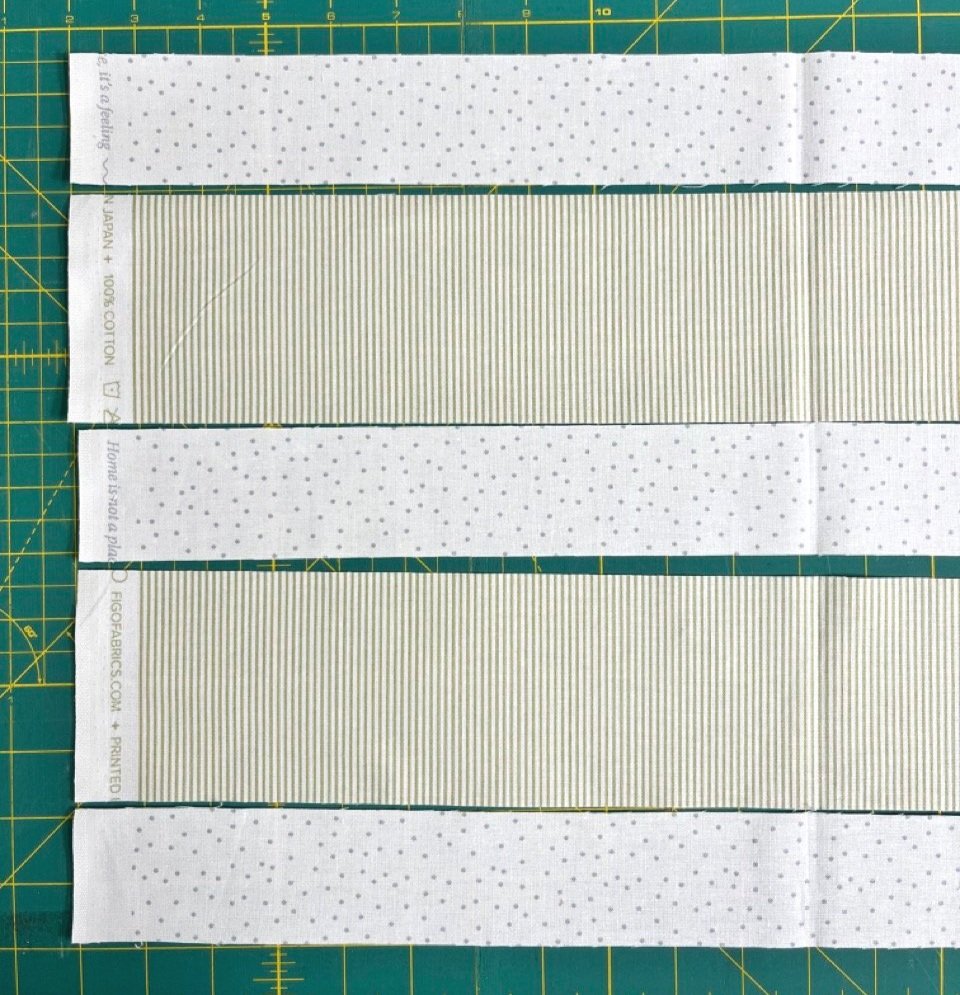
2. Layout strips to get ready to sew
I am a visual person, it always helps me know where I am at and what I need to sew next.
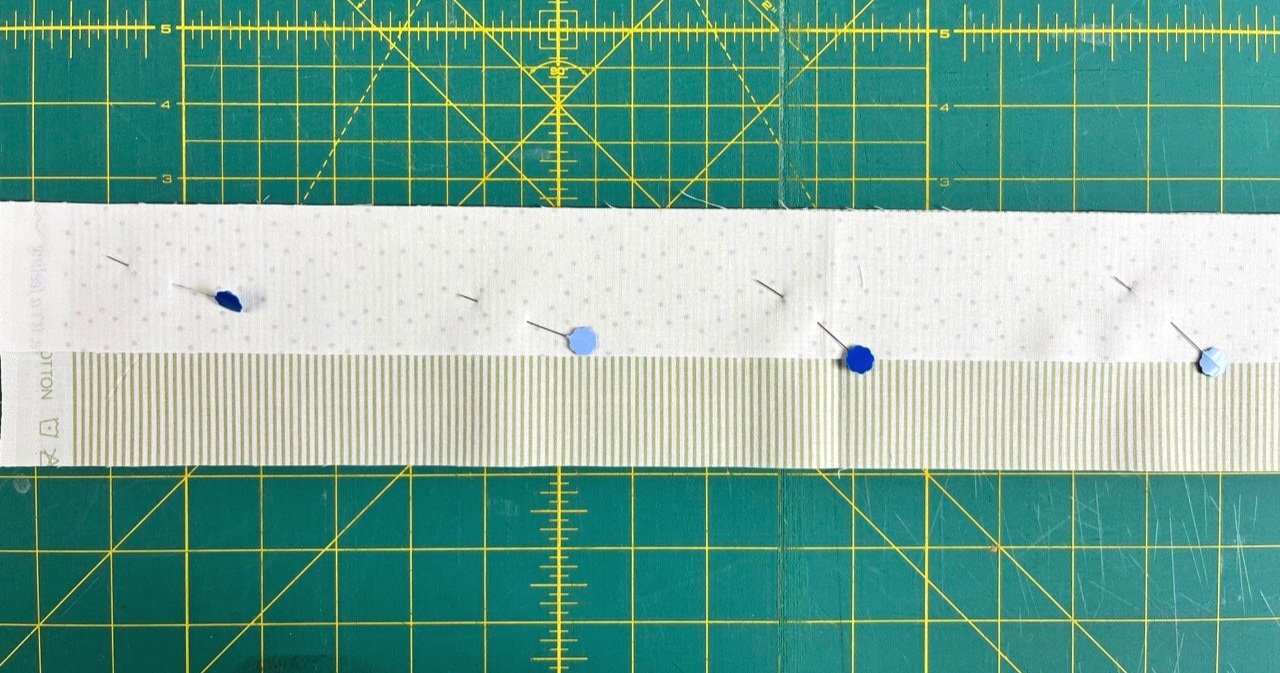
3. Sew Strips 1 & 2 Together
Lay two strips of fabric right sides together and sew along the long edge using a quarter-inch seam allowance. Pin as desired. Press the seams to one side (especially if you will be nesting the seams).
TIP: Remember which way you started when sewing, as you will start from the opposite side in the next step.

4. Sew Strip 3 to Strip 2 Together
Lay Strip 3 on Strip 2 right sides together and sew starting from the opposite end as in Step 3. Sew along the long edge using a quarter-inch seam allowance. Pin as desired. Press the seams to one side (especially if you will be nesting the seams).
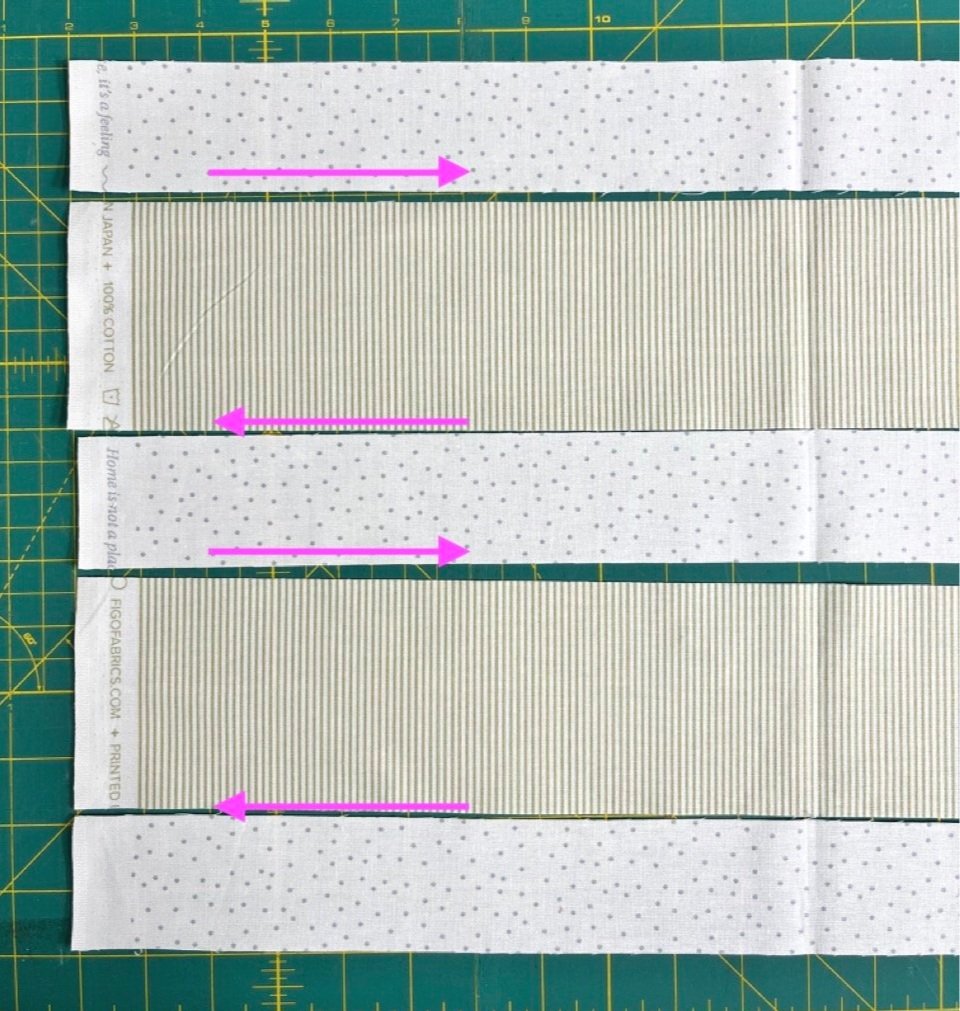
5. Repeat Step 4 as many times as there are strips per pattern.
TIP: Don’t forget to alternate sew directions when adding each strip. Pink arrows represent the sewing direction.
We have now officially completed the strip sewing, but adding a bonus for those following Edge View Quilt Pattern.
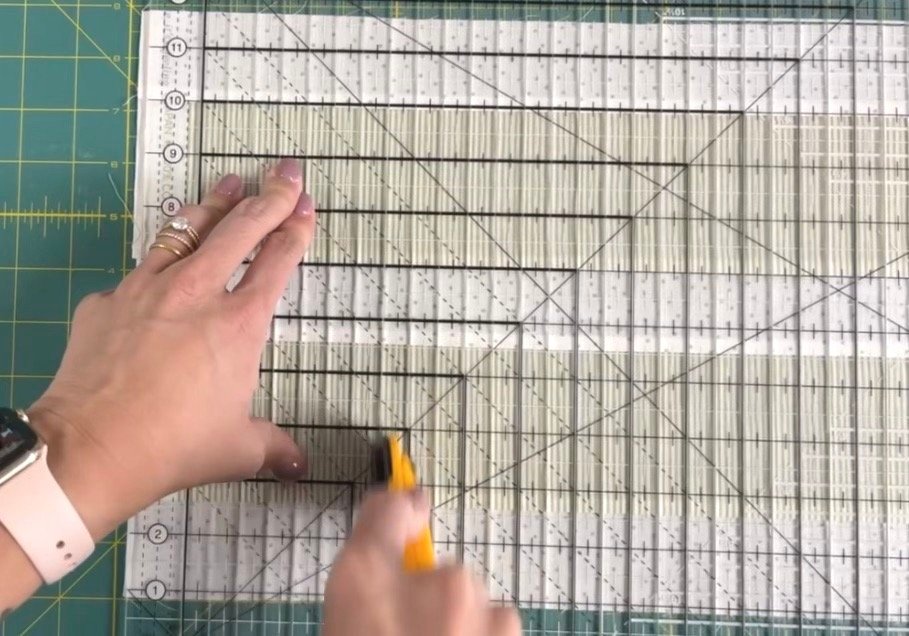
6. Trim the Strips into mini blocks
Align the ruler to ensure the edge and center lines are straight, then trim per pattern requirements. Time-saving tip, cut using the Stripology Ruler by Creative Grids.
TIP: You can now use the strip pieced fabric to create a quilt block or incorporate it into a larger quilt design.
Benefits of Strip Piecing in Quilting
Saves Time — Strip piecing can save time in the quilting process since you can sew together multiple strips at once instead of sewing them individually.
Accurate Piecing — When you strip piece, you are sewing long strips of fabric together, which can help ensure accurate piecing. This is especially true when you use a quilting ruler and rotary cutter to cut your strips.
Variety of Designs — Strip piecing allows you to create various designs and patterns. By choosing different fabrics and strip widths, you can create unique and complex designs.
Efficient Use of Fabric — Strip piecing allows you to use up fabric scraps and make the most of your fabric. Instead of having small scraps of fabric left over, you can use them to create strip pieced fabric.
Strip piecing is a useful technique in quilting that can save time and allow for accurate piecing. By using this technique, you can create a variety of designs and make efficient use of your fabric. If you are new to quilting or looking for a new technique to try, strip piecing is a great place to start.

Hello!
I’m Katie the designer and maker behind Zahm Co. Thank you for being here, I hope you find this blog helpful. For blog notifications, subscribe below!
Click the image to learn more about me.
xx