Desert Willow Pattern
Welcome to Desert Willow Quilt! A few fun facts about this modern quilt pattern are it’s Fat Quarter (FQ) friendly, beginner friendly and available in a throw size only.
Scroll down to find sewing tips!
Download the Desert Willow Coloring Template
Southwest Inspired
Though I lived in the Southwest for seven years (prior to Denver), I was inspired from a Desert Willow tree on our most recent trip. Funny how I had to move away to see the beauty. So many simple shapes you can pull from this region - I hope you enjoy creating as much as I enjoyed writing this pattern.
Happy Sewing!
- Katie

Fabric Tips & Requirements
Fabric A: Art Gallery Pure Solids - Mauvelous
Fabric A will be in the center and corners of the quilt. The center piece is one cut square which is fun for a fabric print or even maybe a cute animal print.
Fabric B: Art Gallery Pure Solids - Dried Roses
Fabric B are the reverse arrows moving away from the center. Fabric choice can be versatile for these blocks.
Fabric C: Art Gallery Pure Solids - Spruce
Fabric C are arrows moving away from the center. These are HST sewn together - I would suggest a low volume or solids but be aware of directional prints.
Fabric D: Art Gallery Pure Solids - Ash
Fabric D are smaller strips moving away from the center. Small in width but another versatile block
Fabric E: Art Gallery Pure Solids - Snow
Fabric E is the background for your quilt top. I would highly suggest keeping this a solid or a low volume print.
Fabric Bundles

Pattern Cover
From Rosie Girl Quilting

Sagebrush
From Ollie Fabrics

The Dark Side
From Great Heron Thread

Navy Party
From Red Rock Fabrics & Studio

Orange Creamsicle
From Ollie Fabrics

Ombre
Piper Autumn Designs
Desert Willow Sewing Tips
Supplies
Desert Willow Pattern by Zahm Co.
Fabric per requirements
Sewing machine
Hera Marker
Ruler with 1/4” marker
Rotary Cutter
Rotary Mat
Pins
Iron
Ironing Mat
Squared Diamond Block
1. Reference the pattern on page 5 to gather the fabric. Start by marking a diagonal line from corner to corner, on the wrong side of each small square.
Pro tip: I’m using my Hera Marker.

2. Align two of the smaller squares on the opposite corner of the big square. Ensure the marked likes are both touching the outside of the big square and pin.. Sew on the marked line for each square.
Pro tip: Complete one corner at a time if needed.

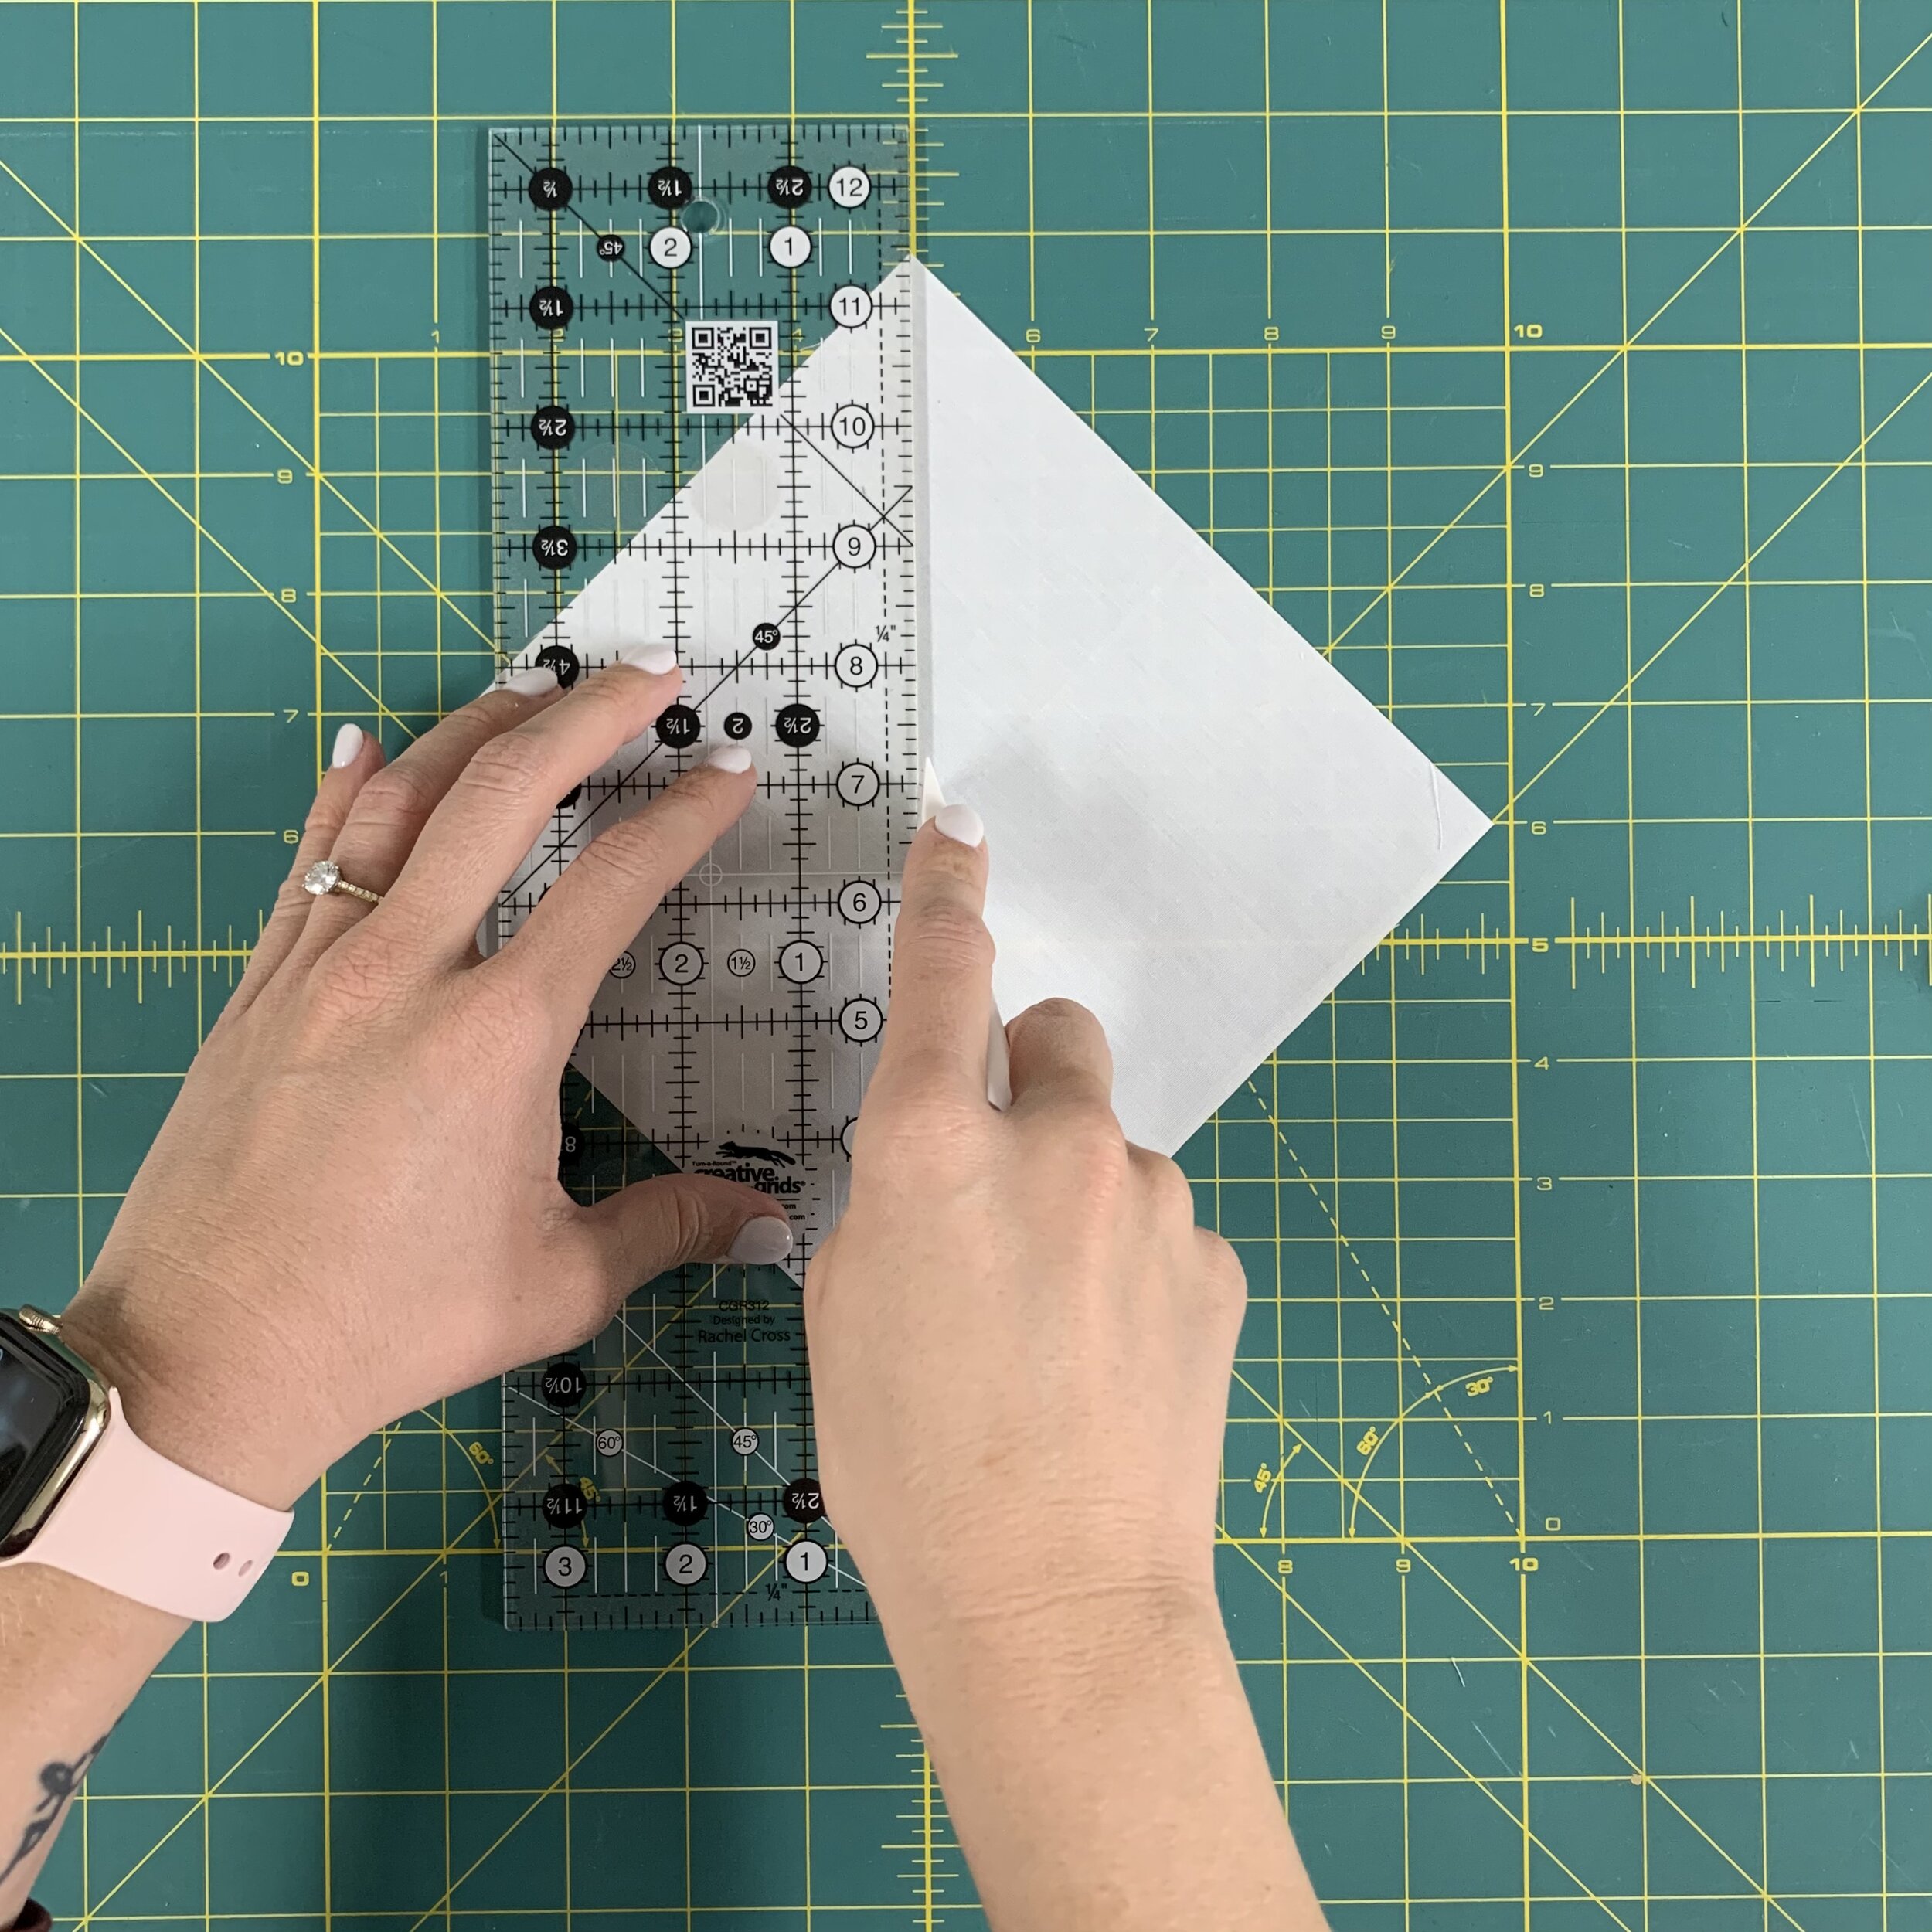
3. Align your ruler with your seam at the 1/4” marker and trip off corner.
Pro tip: The blue arrows indicate the 1/4” marker and I have aligned it on top of my sewn stitch.

4. Flip fabric up to create the corner and press.

5. Repeat steps 2-4 on the remaining corners, until you have used all the small square pieces.

6. Voilà you have a beautiful Diamond Square block.
Pro tip: I’ve also seen this block called square in a square.
Quadrant Blocks

1. Layout all pieces referencing the pattern on page 8.

2. Start on the bottom right corner using the two pieces identified with blue stars. Sew a 1/4” seam and press.

3. Add the left piece, identified with a blue start, onto the working block. Sew a 1/4” seam and press.

4. Add the top piece, identified with a black star, onto the woking block. Sew a 1/4” and press. Followed by adding the left piece, identified with a blue star, onto the working block. Sew a 1/4” seam and press.

5. Follow this pattern, add the piece on the top (black star), to the working block. Next add the left piece (blue star), to the working block. Until all pieces are sewn together.

6. You now have one quadrant. Repeat three more times.
Pro Tip: each quadrant is built the same way, watch how they are rotated in the pattern when placing the quilt top together.

Hello! I’m Katie the designer and maker behind Zahm Co. Thank you for being here, I hope you find this blog helpful.
Click the image to learn more about me.